
4 Easy Braided Hairstyles for Summer!
If you’ve been following me on Instagram, you know I’ve been experimenting a ton when it comes to my hair and makeup lately! To be honest, I didn’t start playing around with different styles until very recently because frankly, I didn’t think I had the skills to make them work, especially not on myself. But as I’ve played around with them I’ve realized that most of the styles I’ve been seeing and trying are actually wayyy easier than they look, and there was no reason for me to shy away from trying them for as long as I did! So if you’re in need of some easy summer hair inspo, here are some of my favorite looks that I’ve tried out lately, along with the tutorials that I followed to get the look! Also, if you need even more hair inspo, I shared some of my favorite hair accessories right now in this post!
Most of these hair styles are actually bobby pin free for the most part, but I do use a teasing comb and a ton of clear rubber bands! I buy these ones from Amazon, and use this teasing comb!


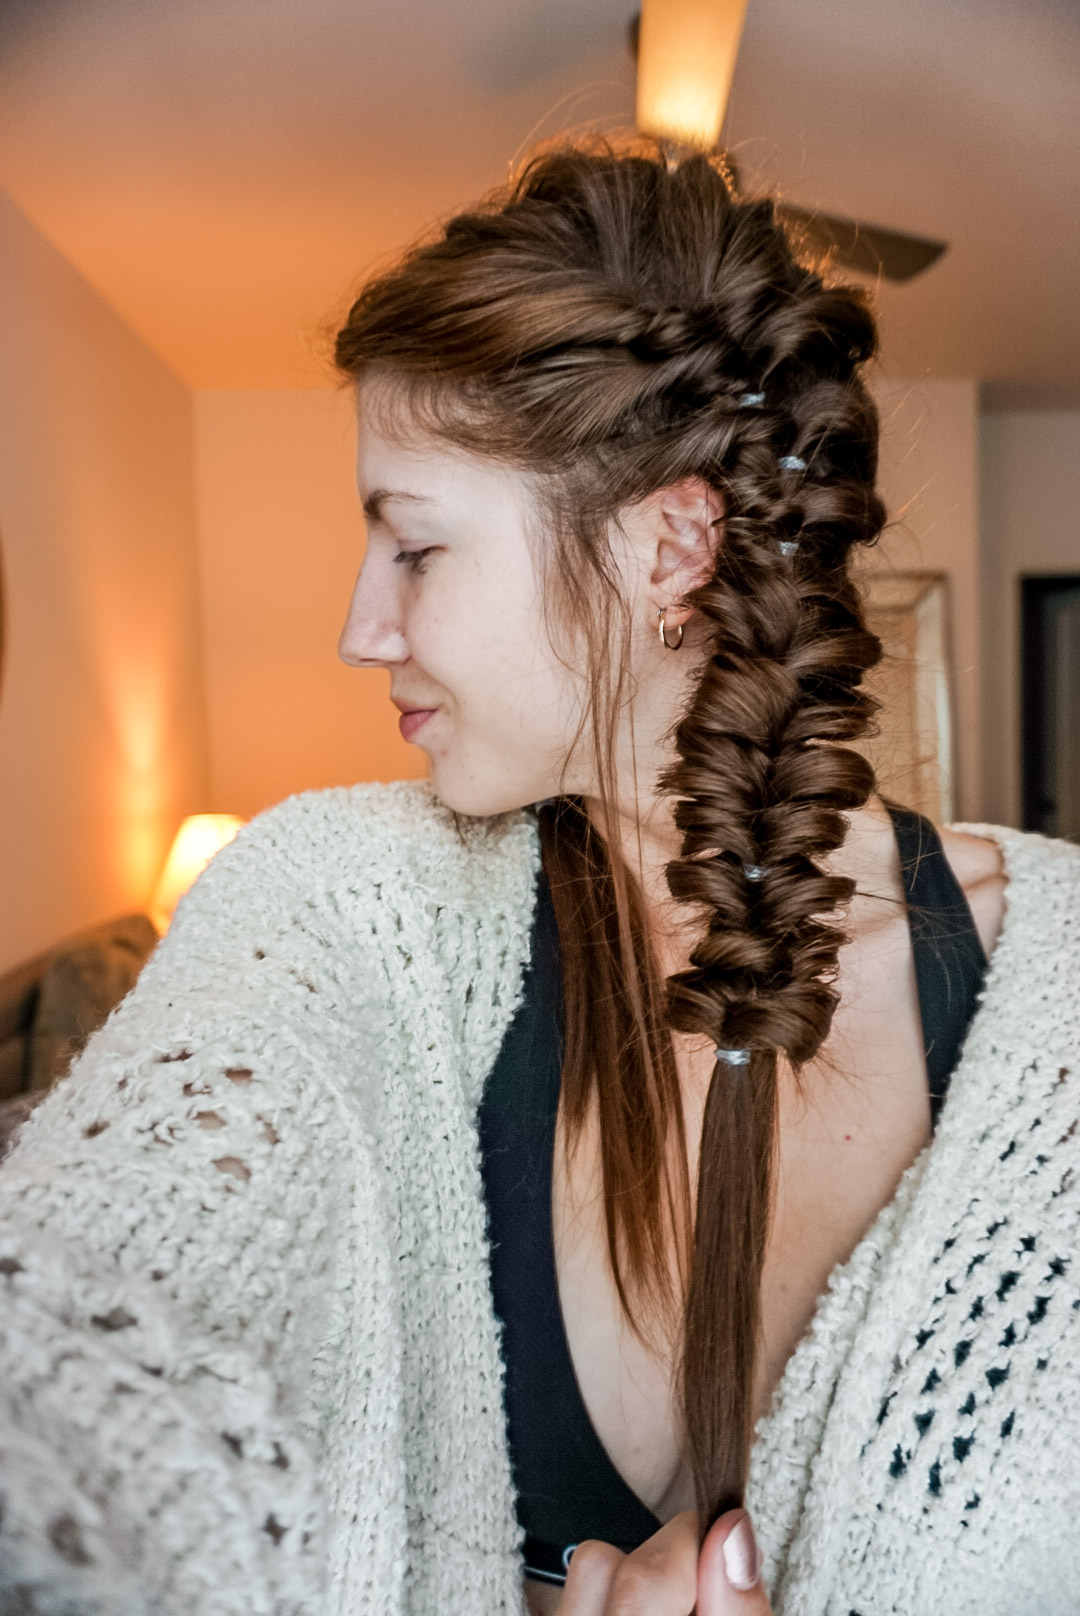
I was scrolling through Instagram this morning and found this video, and they made the style look so easy I thought I’d give it a try myself! Obviously mine looks a little different, but I’m pretty happy with it for a first try! I chose to do two braids instead of one because I wanted to be able to see what I was doing, but I definitely want to try one big braid at some point because I love the way it looks in the video! I also think I’ll try to do it a bit looser next time, too! This hairstyle is fun because it can be super casual, but you can also really dress it up and make it work for a fancier event, too!

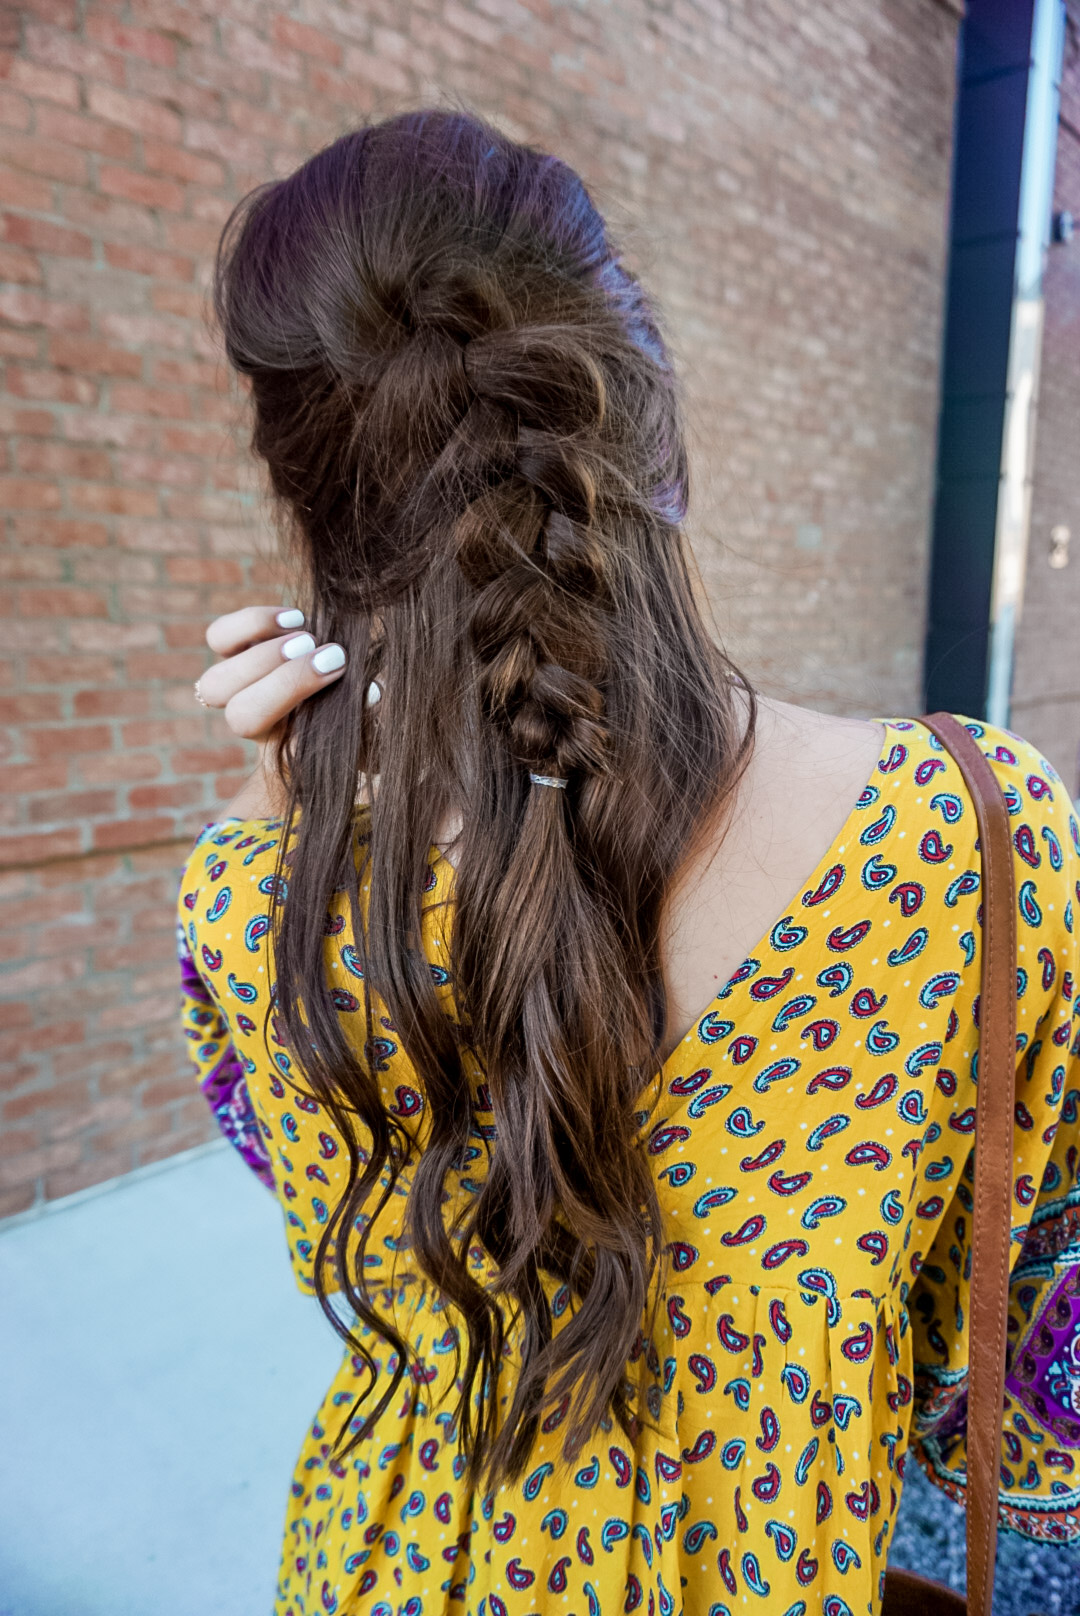

This one is definitely the simplest style in this post. Basically all I did was tease the top of my hair, and then pulled it back into a super loose half french braid. I think I picked up about 3 different sections for the “french braid” part, before continuing it down into a regular braid. Once I tied it with the rubber band, I just kind of pulled at it until it had the look of fullness that I was going for! Here’s a good video that shows you how better than I probably explained it. I don’t have any of my own videos because most of these were first attempts, so I didn’t film them because I wasn’t sure that it would even work!


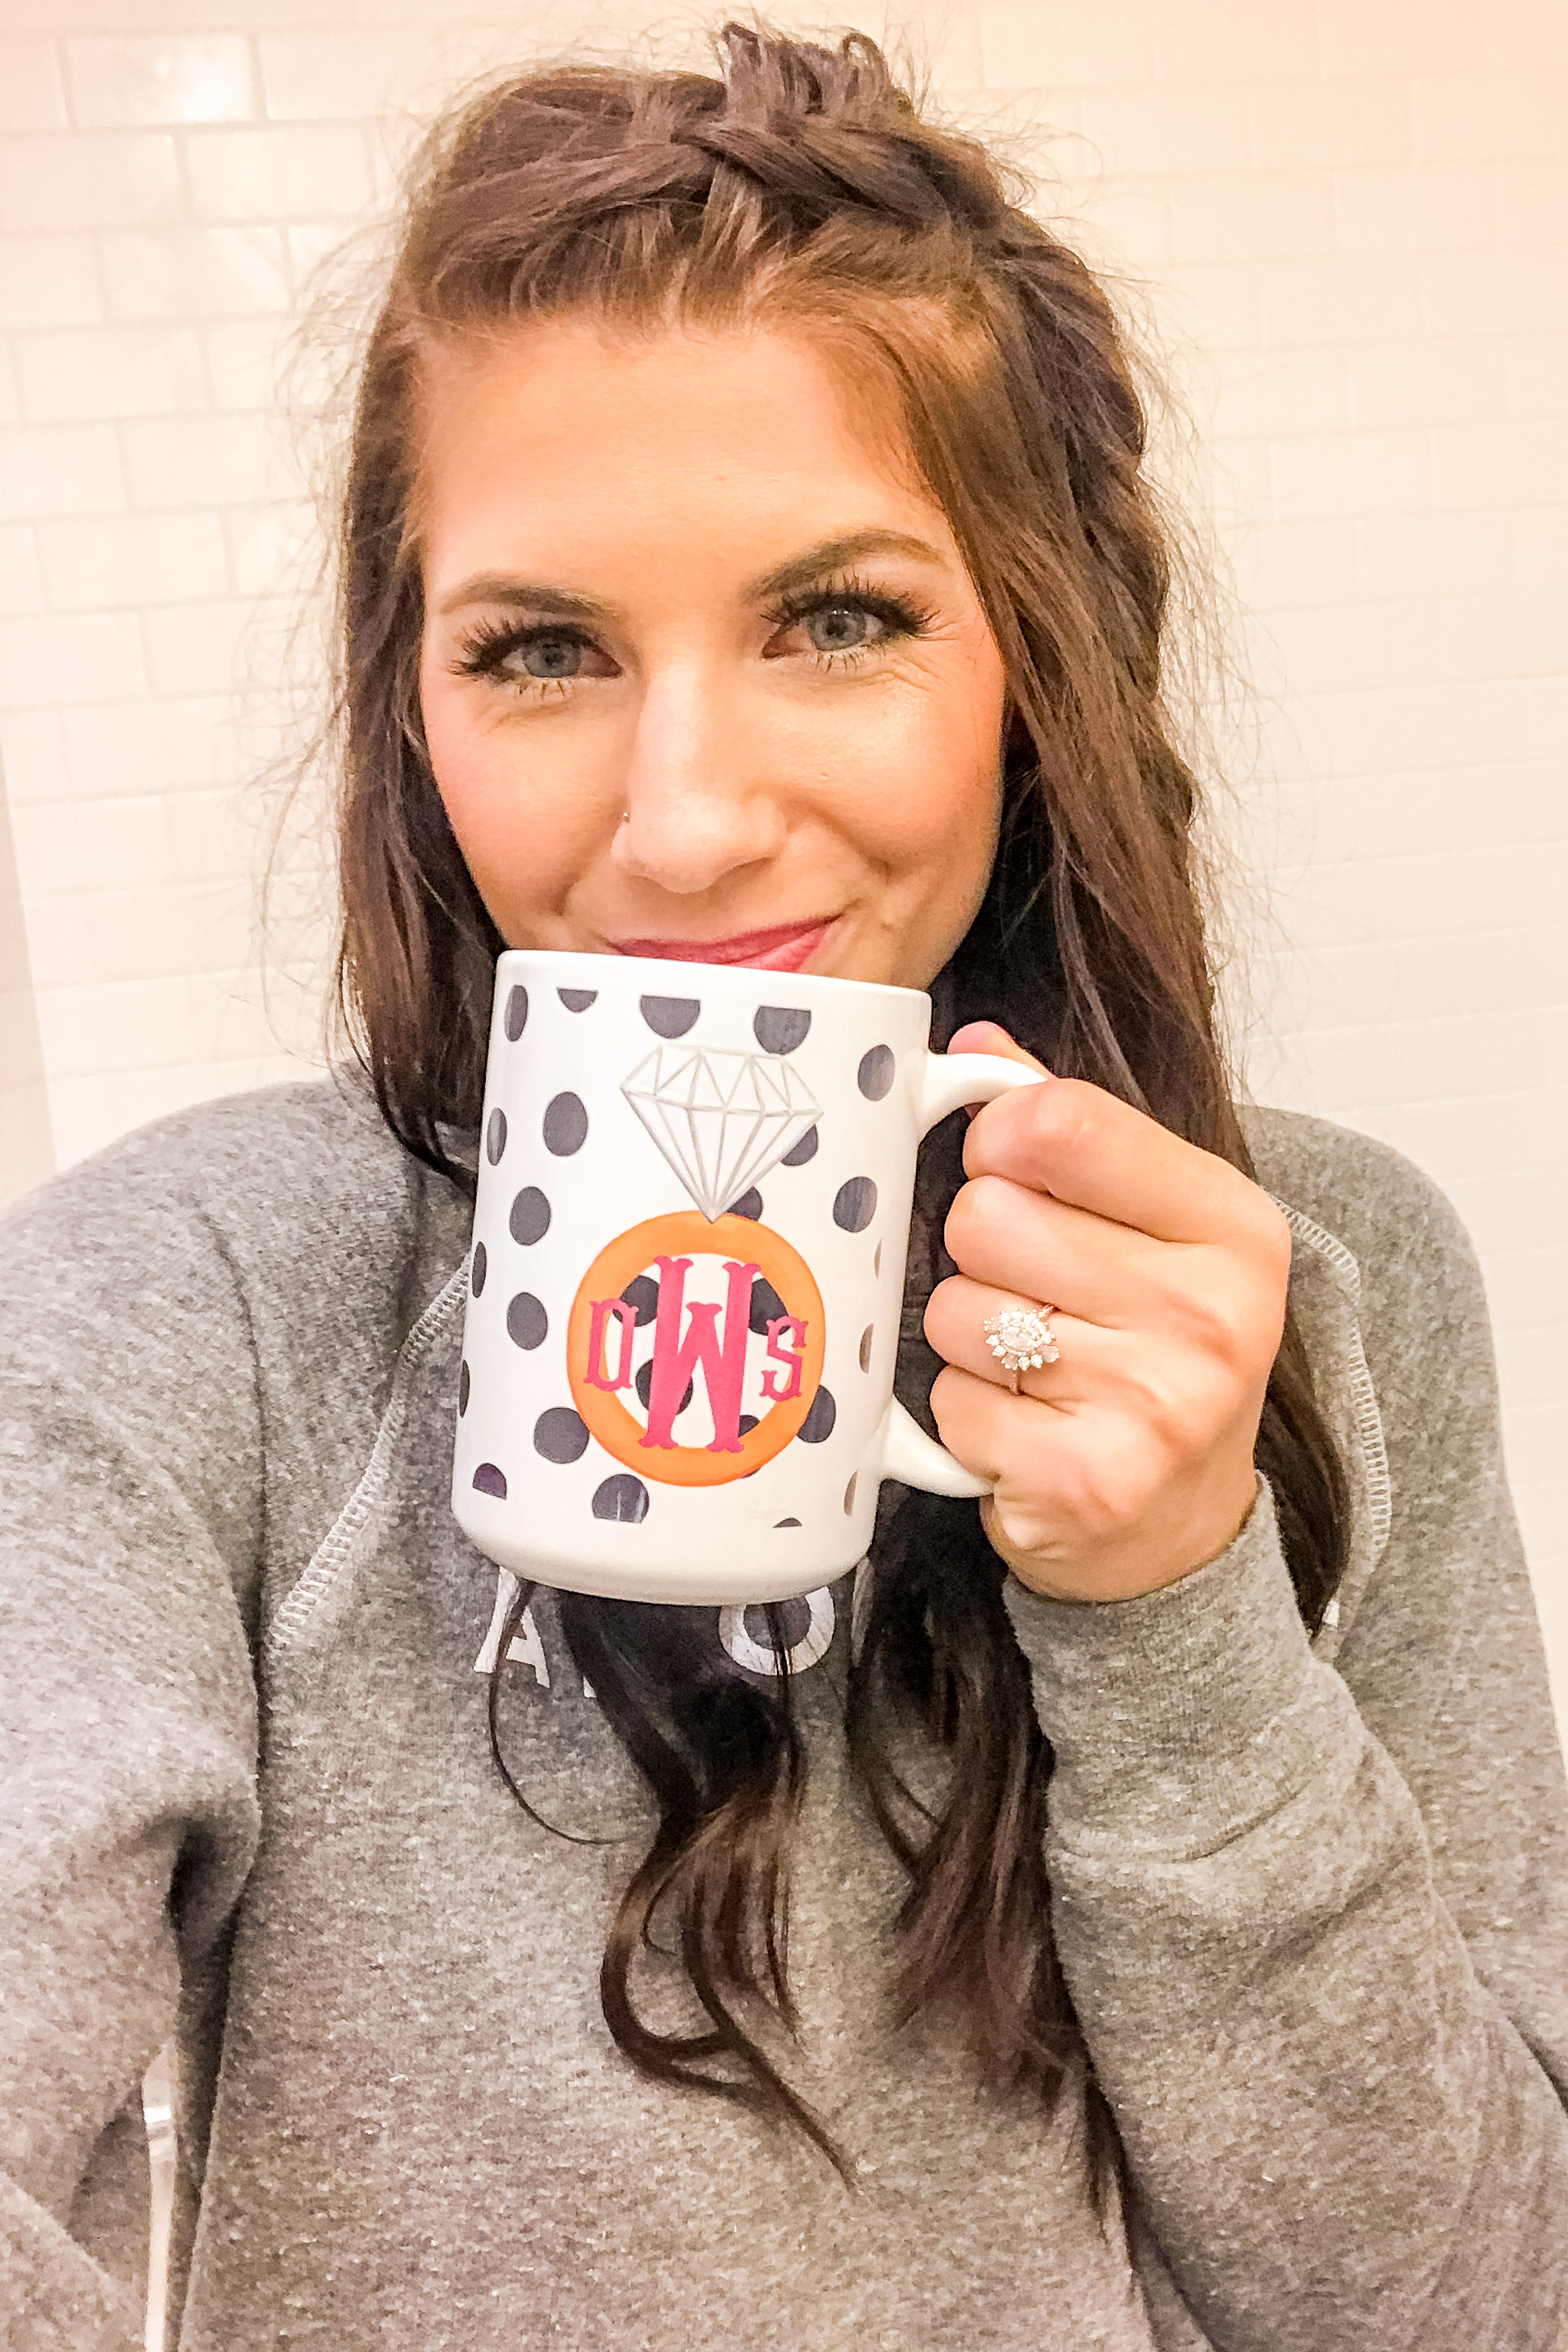
This is kind of a toned down, simpler version of the first braids! Here’s a good video that breaks down how to do it for you! It’s another one that looks impressive but is actually super easy!


This is one I’ve found works best on day two (or even three) hair, because it helps for your hair to have a bit more texture to it in order to pull the braid out a bit and make it look bigger/messier! To do this one, I always section out the hair I want to braid, and then tie up the hair that I want left out of the braid, leaving only the section I want braided down. Then I do a somewhat tight dutch braid, and tie it with a rubber band. Then I go back and pull it out/mess it up a bit to give it that bigger, messier look. I love this for days that I still want to wear my hair down but I don’t want to worry about it in my face. I don’t have a video to link because this is one that I’ve been doing for a while and just kind of figured out on my own, but I may do an IGTV video on it at some point soon if it would be helpful to y’all!
If you try any of these out, tag me in an Instagram story so I can see it!